Considering a DIY fence installation? New Bedford, Massachusetts homeowners can transform their outdoor spaces with various fence options tailored to local aesthetics. This comprehensive guide navigates the process from start to finish. We’ll explore measuring and planning techniques, essential tools and materials, step-by-step post setting and panel installation, and final touches to ensure longevity. By following these expert tips, you’ll create a secure, beautiful fence that enhances your New Bedford yard’s beauty and privacy.
- Understanding Your Fence Options for New Bedford Yards
- Measuring and Planning for Successful Installation
- Essential Tools and Materials for DIY Fence Building
- Step-by-Step Guide to Post Setting and Panel Installation
- Final Touches and Maintenance Tips for Longevity
Understanding Your Fence Options for New Bedford Yards
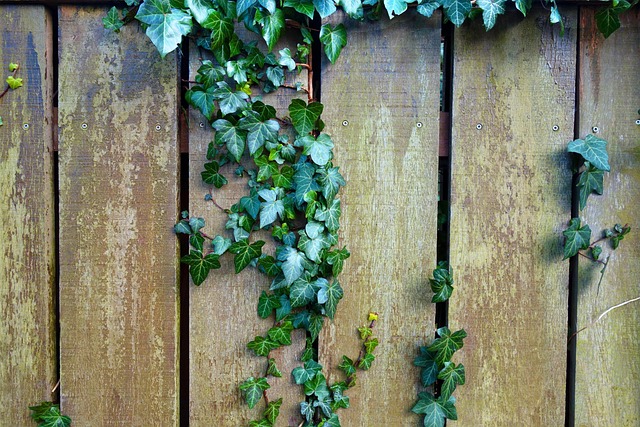
When it comes to fencing your New Bedford, Massachusetts yard, there are several options to consider. The first step is determining your specific needs and preferences. Fences can serve various purposes, such as providing privacy, securing pets, or defining property lines. Each type of fence—from wood to vinyl and chain link—has its unique characteristics in terms of aesthetics, durability, and cost.
Wooden fences offer a classic look and can be tailored to fit any design preference. Vinyl fencing is low-maintenance and comes in a variety of styles. Chain link fences are durable, cost-effective, and provide security for active kids or pets. Understanding these options will help guide your decision, ensuring the new fence complements your home’s exterior and meets your functional requirements.
Measuring and Planning for Successful Installation
Before beginning any DIY fence installation project, meticulous planning and precise measuring are essential. New Bedford homeowners should start by assessing their property lines and existing structures to ensure a seamless fit for their new fence. Utilizing a tape measure or laser distance meter, accurately determine the length and height requirements for your fence, accounting for any local building codes or regulations.
Creating a detailed plan will help you visualize the final result. Sketch out the layout, considering the placement of gates, posts, and any decorative elements. This step-by-step approach ensures that your DIY fence installation is both functional and aesthetically pleasing, enhancing the curb appeal of your New Bedford property.
Essential Tools and Materials for DIY Fence Building
When planning to install a fence on your New Bedford property, having the right tools and materials is half the battle won. Here’s what you’ll need for a successful DIY project.
For a basic wooden fence, you’ll require posts, rails, fencing panels, brackets, nails or screws, a drill, a hammer, measuring tape, a level, and safety gear such as gloves and protective eyewear. If your yard has uneven terrain, consider adding concrete for a sturdy base to support the fence posts. Don’t forget to purchase any additional accessories like gates or latches if you plan on incorporating these features into your design.
Step-by-Step Guide to Post Setting and Panel Installation
Setting posts and installing fence panels is a crucial step in your DIY fence project. Here’s a simple guide to ensure the process goes smoothly. Begin by preparing the ground, marking where each post will be placed according to your design. Dig holes for the posts, ensuring they are deep enough (typically 1/3rd the length of the post) and wide enough (about 8-10 inches in diameter) to provide stable support. Place a level of sand or gravel at the bottom of each hole before positioning the posts, filling the remainder with concrete. Allow the concrete to set completely before proceeding.
Once your posts are securely installed, it’s time to attach the fence panels. Start by connecting the bottom rails to the posts using galvanized screws or nails, ensuring they align properly. Then, secure the vertical boards to the rails, fastening them at regular intervals for maximum strength and stability. Finally, install the top rail, completing your panel assembly. Always double-check connections for any loose parts before moving on to the next section.
Final Touches and Maintenance Tips for Longevity
Once your fence is fully installed, it’s time to focus on those final touches that will ensure its longevity. Begin by ensuring all hardware is securely fastened and no nails or screws are protruding, which could damage property or cause injury. Next, apply a high-quality sealant or paint to protect the fence from the elements. This step is crucial, especially in Massachusetts’ harsh winters, as it prevents rust and maintains the fence’s aesthetic appeal. Regular cleaning with mild soap and water will also help preserve its finish.
Maintenance isn’t just about aesthetics; it’s key to extending your fence’s lifespan. Keep an eye out for any signs of damage, such as broken boards or loose posts, and repair these promptly. Schedule periodic inspections, especially after severe weather events, to identify potential issues early on. Lastly, consider planting groundcover plants along the bottom of the fence to prevent weeds from growing and to add a natural, appealing border.