DIY Fence Installation Tips for New Bedford, Massachusetts Homeowners
Considering a DIY fence installation? For New Bedford homeowners looking to enhance their outdoor spaces, this comprehensive guide is your go-to resource. We’ll walk you through each step, from understanding your fence options tailored to New Bedford’s unique yards, to final touches and safety considerations. By the end, you’ll be equipped with the knowledge and confidence to successfully install a durable and aesthetically pleasing fence on your own terms.
- Understanding Your Fence Options for New Bedford Yards
- Measuring and Planning for the Perfect Fit
- Gathering Necessary Tools and Materials
- Preparing the Ground for Installation
- Step-by-Step Guide to Fence Assembly
- Final Touches and Safety Considerations
Understanding Your Fence Options for New Bedford Yards
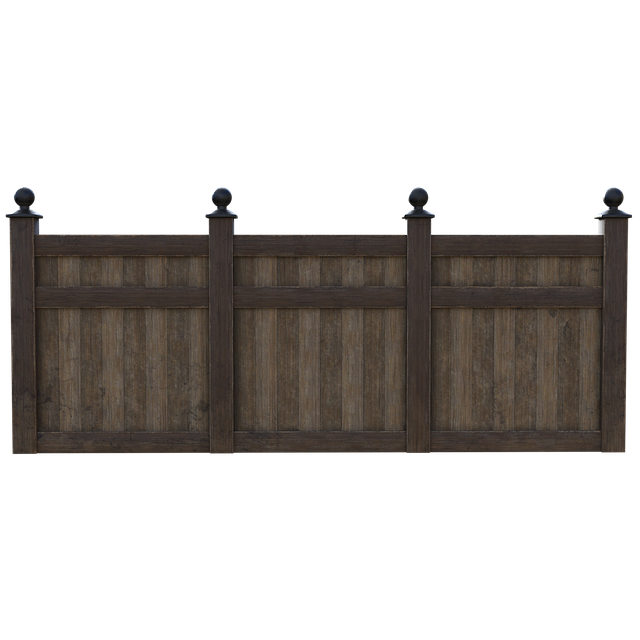
When it comes to fencing your New Bedford, Massachusetts yard, there are several options available that cater to different styles, budgets, and functional needs. Wood fences, such as cedar or pine, offer a classic look and come in various pickings from traditional picket fences to more elaborate designs. Vinyl fencing is another popular choice known for its low maintenance requirements and durability. It’s available in a range of colors and styles, including privacy panels and post-and-rail options. Chain link fences are ideal for security and are especially beneficial for yards with children or pets, providing both a barrier and peace of mind. Before beginning your DIY fence installation project, carefully consider the aesthetics you desire, your budget constraints, and the functionality that best suits your outdoor space.
Measuring and Planning for the Perfect Fit
Before you start installing your fence, accurate measuring and planning are essential to ensure a perfect fit. Begin by identifying the perimeter of the area you want to fence off. Use a tape measure to take precise measurements, marking important points along the way, such as corners, gates, or any existing structures. This step is crucial as it determines the quantity and length of materials needed, ensuring a cost-effective and efficient installation process.
Create a detailed plan by sketching out your fence layout on paper. Consider factors like where you want the gate(s) to be placed, the style of fencing (wooden, vinyl, chain link), and any local regulations or homeowners’ association guidelines that might impact your design choices. Planning ahead saves time and effort later on and helps create a customized fence that suits both your aesthetic preferences and practical needs.
Gathering Necessary Tools and Materials
Before starting your DIY fence installation project, make sure you have all the required tools and materials at hand. This typically includes a measuring tape for accurate measurements, a post-hole digger or power drill with an attachment for creating holes, a level to ensure straight posts, and a saw for cutting wood to size. Additionally, gather fencing materials such as fence posts, rails, and pickets that match your desired style and color. Don’t forget safety gear like gloves and eye protection to shield yourself from debris during the installation process.
It’s wise to check local regulations or consult with experts before purchasing materials to ensure compliance with building codes and safety standards. Proper preparation will make your fence installation smoother, ensuring a sturdy and aesthetically pleasing result.
Preparing the Ground for Installation
Before installing your fence, preparing the ground is a crucial step. Clear any debris, such as branches or weeds, from the area where the fence will be erected. Digging and levelling the soil to create a solid foundation is essential for a sturdy fence. Use a level to ensure the surface is even, filling in any dips or uneven spots with soil or gravel if necessary.
This preparation ensures that your fence posts will be securely anchored, providing stability and longevity. It’s also beneficial to mark the boundary of where you want your fence to be installed using stakes and string for a precise measurement. This step-by-step approach will make the installation process smoother and more accurate.
Step-by-Step Guide to Fence Assembly
To ensure a successful DIY fence installation, follow this step-by-step guide tailored for New Bedford homeowners. First, gather all necessary tools and materials, including your fence posts, rails, pickets, concrete, a post-hole digger, and any hardware like brackets or fasteners. Clear the installation area, removing any grass, plants, or debris to create a level surface. Next, mark the spots where each corner post will be placed using stakes and string to ensure straight lines. Dig holes for the posts, making them deep enough (typically around one-third of the post’s height) and wide enough to accommodate the post’s bottom third. Pour concrete into the holes, allowing it to set completely before proceeding. Once the concrete is solid, attach the rails to the posts using brackets or screws, ensuring they are level and secure. Finally, fasten the pickets tightly to the rails, creating your fence’s barrier.
Final Touches and Safety Considerations
After completing the fence’s construction, it’s time to focus on the final touches. Ensure all posts are securely fastened and check for any loose or damaged components. Inspect the entire fence line for gaps or uneven sections and make adjustments as needed. A level and sturdy fence is essential for safety and aesthetic appeal. Consider adding a decorative cap to the top of each post, not only for an attractive finish but also to protect against damage from weather and pests.
Safety should always be a priority during DIY projects. Be mindful of any potential hazards and take precautions accordingly. Keep tools and equipment out of reach of children and pets. Wear appropriate safety gear, such as gloves and eye protection, when handling sharp objects or heavy materials. Regularly inspect the fence for loose parts or sharp edges that could cause injury, especially if you have young children or frequently use the area where the fence is installed.